When you need an effective or simple way to process, catalog and touch-up dozens of photos, Adobe Lightroom is definitely one of the best software around.
This is an easy-to-learn, high-powered photo editing and production tool that is used by the serious and pro photographers just as the conventional film photographers used darkrooms.
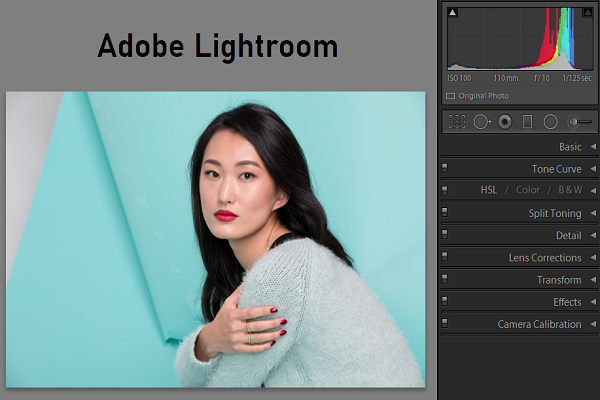
Adobe Lightroom Photo Editor Review 2020
Even better, Lightroom will automatically save your image to the cloud and also allow you to edit them using similar Lightroom interface, regardless of whether you’re using tablet, phone or computer. Go through this review where we share few worthy details on this photo editing software.
Adobe Lightroom and its Pricing Plans
You can gain access to Lightroom on a subscription basis. For $9.99 in a month, you get Lightroom on mobile, desktop, Adobe Spark, Adobe Portfolio, and 1TB of cloud storage.
You can also purchase the Photography Plan that includes Lightroom on mobile, desktop, Lightroom Classic, Spark and Portfolio, Photoshop on iPad and desktop. For $9.99/a month, the plan will offer you 20GB storage (nearly 4000 JPEGs) or for $19.99/month, 1TB of storage.
Minimum requirements of your system – Adobe Lightroom
- PC: Windows 10 (64-bit), 2-GHz processor, 4GB of RAM, 2GB hard disk space
- Mac: MacOS v.10.13, 4GB of RAM, 2GB of available space in hard disk
- Android: Android 5.x (Lollipop), 1.5 GHz Quad Core CPU, 1GB RAM, 8GB of space in the hard disk.
- iOS: Any iPad or iPhone that runs iOS 12.3 or more than that can use this software. The list includes iPhone 5S, iPad Mini 2, iPad Air 1 and iPad Touch 6th Generation.
A story of two Lightrooms
As the rethought Lightroom was released, this one offers a cleaner and simpler interface though it lacks few expected tools like the ability to print and plug-in support.
The professionals will prefer sticking with this subject, Lightroom Classic, whether it is a true heir to the throne of Lightroom that offers every bit of functionality of the franchise. On the other hand, Lightroom, is more suited to enthusiasts and consumers who want everything to be available from the cloud.
Interface of Lightroom
Lightroom sports a clean and refreshing user-interface. It features ‘progressive disclosure’ which means that this begins simple and reveals complicated tools as and when you require them. The user interface will have 4 buttons through the left rail.
There is a plus sign for adding Photos, My Photos, Home and Sharing. The Home screen will offer new tutorials via a row of photos thumbnails. You will spend maximum time in My Photos where you choose and edit images. This can be switched on to the contact-sheet view and sort by capture date, import date or modified date.
With the rethinking of Lightroom, Adobe will ditch all the modes of its predecessor – Develop, Library and the rest. Besides the rows of your synced photos, the interface is rather sparse. The adjustment and organization tools are hidden within the box and control slider icons at the right and left edges.
The organization and adjustment panel don’t show at the same time, when you open one, the other closes. You can even alter this behavior in Preferences by switching the panels from Manual to Automatic and vice versa.
Now if you’re thinking about what is new for the June 2020 update, this is the ability to create and design edit versions so that you can easily compare the edit processes.
All you have to do is to tap the Versions option at the bottom-right of the panel and a Versions panel pops to the left of the adjustment, thereby giving you easy access to several versions.
One thing that you have to note is that you can’t edit a version as you complete creating it. The adjustments are fixed although you can keep editing with the edits.
Importing Images with Adobe Lightroom
Neither Lightroom nor Classic pops up as the Auto Play option whenever you insert an SD memory card. Users often prefer an import button which is handy but with the new Lightroom, you require pressing the + button and then choose the source folder or the card.
When you import pictures from a camera card, you check a grid of the card’s images, unlike the last few versions of Lightroom.
When you import, the images are backed up automatically to the servers of Adobe. People will definitely appreciate it but it’s better to exercise more control on what is uploaded.
You can easily pause uploading but you can never specify files and folders that you don’t wish to upload. Look to Lightroom Classic to gain the ability to exclude images from being uploaded to the cloud.
Raw Profiles of Adobe Lightroom
If you really wish to get the most out of your digital camera, you have to import raw camera files. When you import raw camera files, the software translates data from the sensor of the camera into a viewable image with the help of rendering Profile.
The Profile option existed in Camera Raw and Lightroom but this was down in the Camera Calibration section. Most of these are based on the manufacturer software of the camera.
Now this is based on the top of the Edit adjustment panel and they are reflective of Adobe color technology than that of the camera maker. It is important because this is the starting point for other editing that you may do.
Adjusting Images with Adobe Lightroom
Nobody prefers to admit that they always use the Auto button to check if the program can enhance photos automatically but everyone uses it.
The button in Lightroom is easy to find and you also get to know where exactly the sliders are adjusted. This software is great at fixing underexposed pictures but often applied too much of an HDR look.
Therefore, if you’re wondering about an affordable software that you can use for editing photos, you can use Adobe Lightroom. Don’t forget to keep in mind the features that are all mentioned above so that you may choose the best one among the lot.